How to buy a parcel
How you can buy a Cryptovoxels parcel via primary sale or secondary sale
How to build
In Cryptovoxels you can place voxels (blocks) similar to Minecraft.
You can also use a Megavox as the building structure, animate objects, use scripting and more with your Parcel too.
Where can you build?
Building tools (sidebar)
Once inside or around a Parcel you can build on, tools will slide in on the right side.
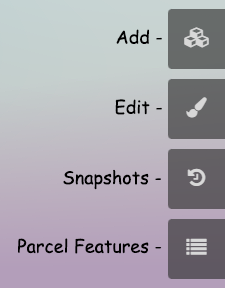
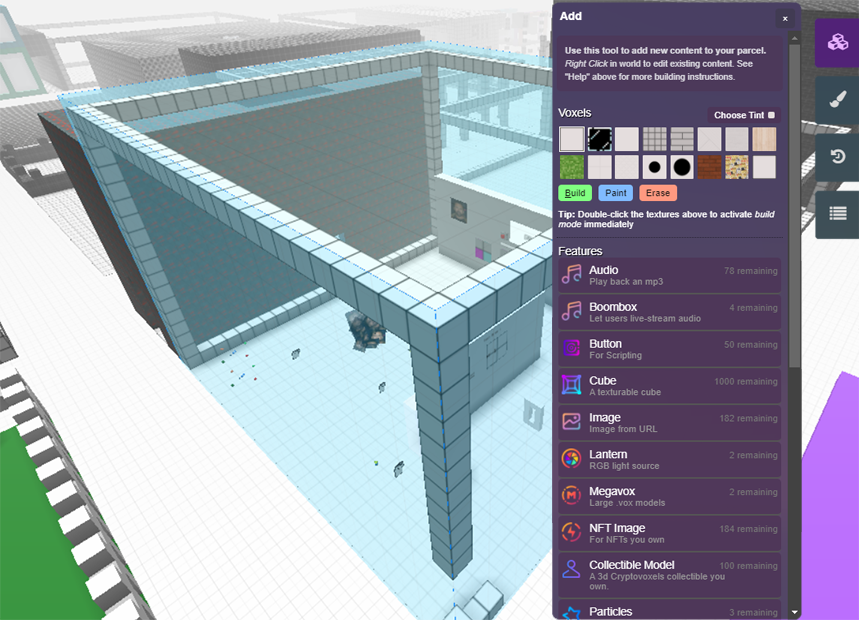
Add - Use this to add new content to the Parcel, like voxels or features Edit - Use this to edit, replicate or move features, or customize voxel textures and tints Snapshots - Save and load states of the Parcel, used as a backup feature or to change the structure Parcel Features - List of features in the parcel sorted by proximity
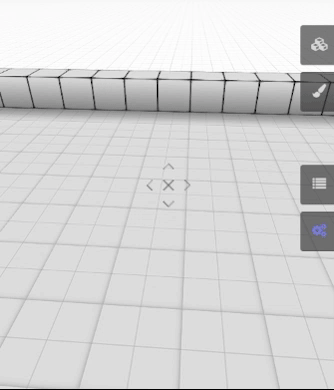
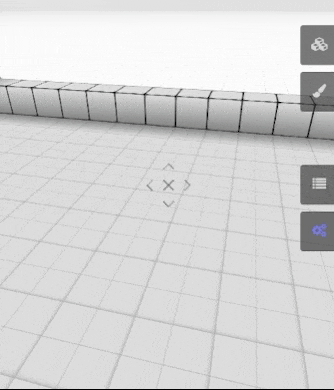
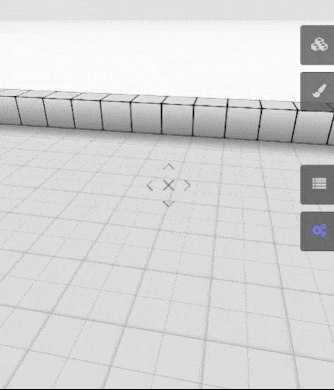
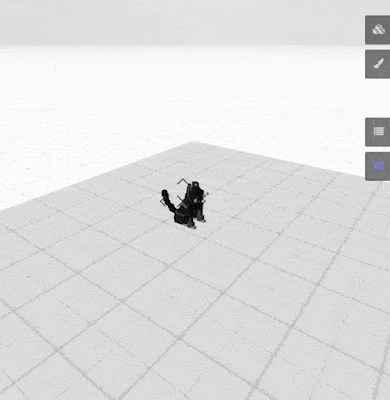
Voxels (blocks)
Each Parcel has a maximum amount of blocks that can be placed, and is listed on the Parcel's page.

Once inside or around a Parcel you can build on, you can open the Add menu by pressing TAB or clicking the Add button on the right. The parcel should be highlighted and the Add menu should pop up.
Placing blocks
- Right click (...or press TAB or click the Add button) to open the Add menu
- Click Build
- Place your block (click and drag to place multiple blocks)
Placing blocks the quick way
 You can bypass the menu and go straight into build mode with the number keys.
- Hit a number key on your keyboard to select the texture and activate build mode (1 activates the first texture, 2 activates the second, etc.)
- Place your block(s)
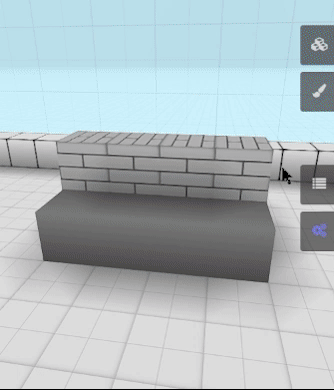
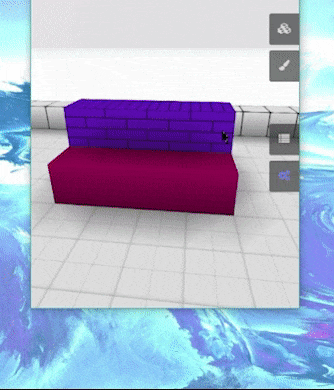
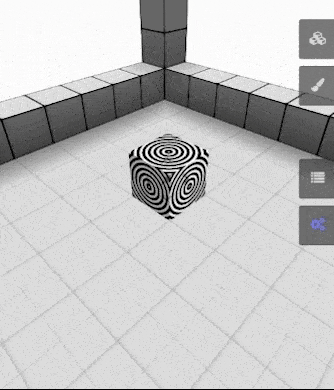
Textures & colors
Each Parcel can have 8 different voxel color tints & 16 different textures.
Placing blocks with different textures

- Right click
- Select a texture under Voxels
- Click Build
- Place your block(s)
You can use the number keys to select the first 10 textures and go into build mode, bypassing the menu.
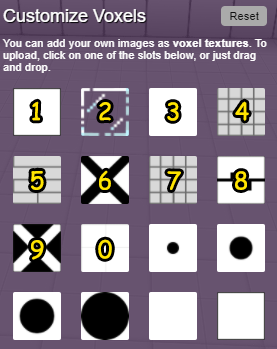
Changing the textures
- Click the Edit button
- Click a texture you want to change OR drag an image onto one of the slots to replace it
If you want to revert back to the default textures, click the Reset button in the Edit menu next to Customize Voxels.
Placing colored blocks
- Right click
- Click Choose Tint
- Select a color
- Select a texture
- Click Build
- Place your block(s)
Editing the tint color
- Click the Edit button (hit ESC or right click to get cursor)
- Click one of the 8 colors on the bottom
- Modify the color
If you want to revert back to the default tints, click the Reset button in the Edit menu next to color boxes.
Painting blocks
- Right click
- Choose tint and texture
- Click Paint
- Click and drag over the blocks you want to replace
You can temporarily activate paint mode while in build mode by holding the CTRL / CMD key.
Erasing blocks
- Right click
- Click Erase
- Click and drag over the blocks you want to erase
You can temporarily activate erase mode while in build mode by holding the SHIFT key.
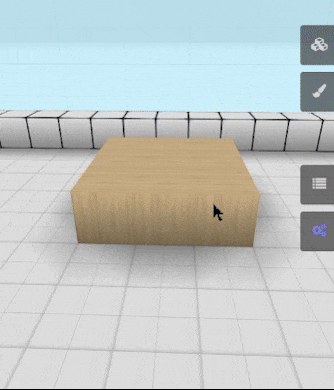
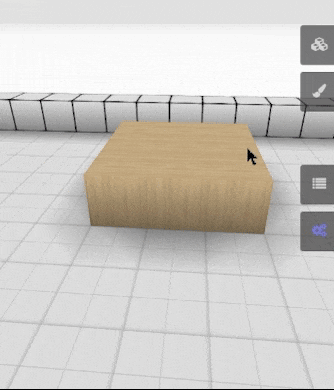
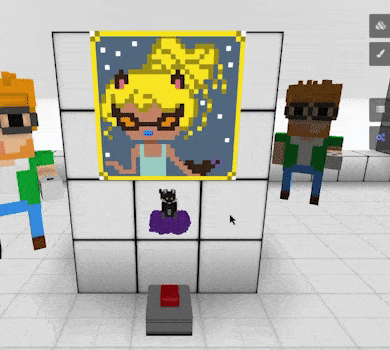
Cube (texturable)
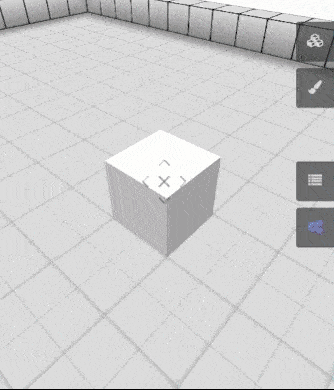 A Cube is not actually a voxel, but a feature - which means you place it and modify it like a feature.
This means that the build/paint/erase tools used for other blocks do not work on these.
A Cube is not actually a voxel, but a feature - which means you place it and modify it like a feature.
This means that the build/paint/erase tools used for other blocks do not work on these.
What makes the Cube different?
- You can pull images from the web or womps and use as the texture
- You can toggle collision (if off, avatars can walk through it)
- Tints and textures can be different per every Cube used
- You can add a feature ID to it for scripting
- You can add a script to it
- You can rotate a Cube
- You can resize a Cube
Hotkeys - Building

- Right click / TAB / B - Activate build mode
- 1 / 2 / 3 / 4 / 5 / 6 / 7 / 8 / 9 / 0 **-** Activate build mode using the first 10 textures
In build mode
- Click - Place block
- Click and drag - Place multiple blocks
- SHIFT + **Click** **-** Erase block
- SHIFT + **Click and drag** **-** Erase multiple blocks
- CTRL / CMD + **Click** **-** Paint block
- CTRL / CMD + **Click and drag** **-** Paint multiple blocks
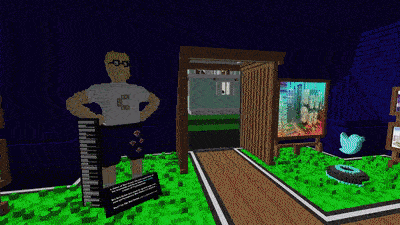
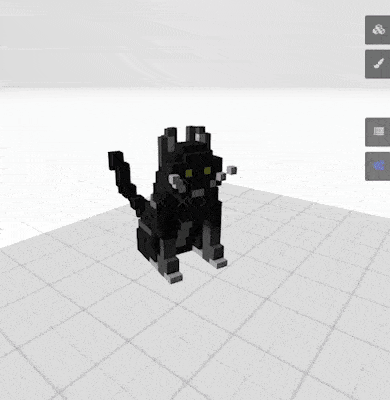
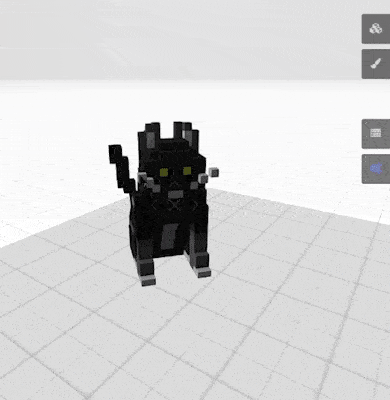
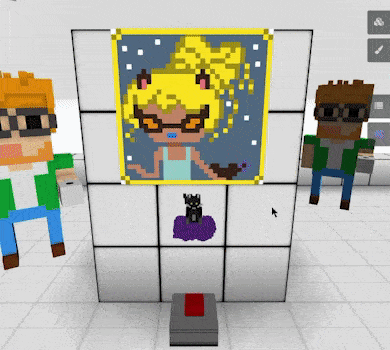
Features
Ranging from NFTs to VOX models, features play a very important role in your Parcel or Space. For the complete list of features, go here.
Placing a feature
In a Parcel/Space you own or have collaboration access to, open the Add menu. Select a feature from the list, move it to where you want it, and click to place it.
There is a limit to how many features can be in a Parcel or Space. Look at the Add Menu for more information.
Editing a feature
Each feature has its own parameters you can adjust. Right click (or hit e and click) the feature to edit it, then make any adjustments you need to make. You can also find & edit the feature via Parcel Features.
Replicating a feature
Right click the feature and click the Replicate button, then click where you want the replicated feature to be. You can also hit R, then click the feature, move the cursor and click where you want to replicate it.
Moving a feature
Right click the feature, click Move, move the cursor and click where you want to place it. You can also hit M, then click the feature, move the cursor and click where you want to move it.
Erasing a feature
You can erase a feature through the feature's edit menu or through Parcel Features. Right click the feature, then click Delete.

Asset library
There is a library of user-generated content that you can pull from. To see what's available, open the Add menu and click Browse Asset Library.
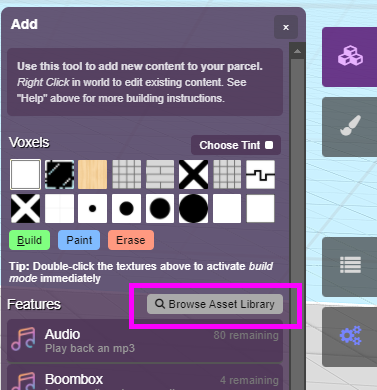
From here you can search through objects, scripts, furniture and more!
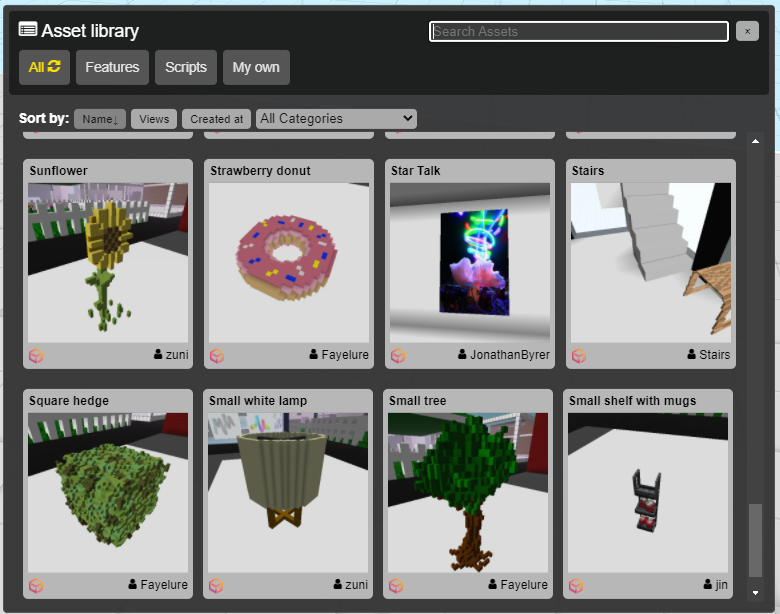
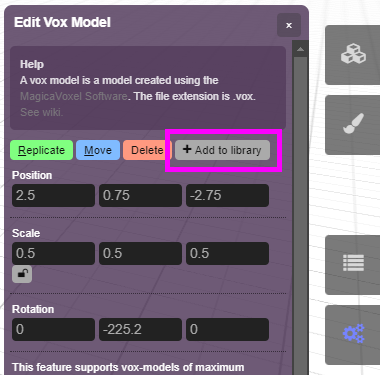
If you'd like to add to the library (it can be public or private), edit the feature and click + Add to library.
Hotkeys - Features
These hotkeys make it easy to replicate, move or edit features. Hit the hotkey and then click the feature to use it.
R - Activate replicate feature modeM - Activate move feature modeE / **Right click** - Activate edit feature mode
Parcel Features menu
The Parcel Features menu is a list of all features currently placed in your Parcel, sorted by proximity. This is an extremely useful tool when your parcel gets filled with features!
You can also erase or group features by clicking the checkboxes next to the features and clicking the buttons below. For more information on grouping features, go here.
Parcel Snapshots
Snapshots are user-selected states of your Parcel that you can chose to come back to later. Use this to backup (take snapshot) & restore (revert) your Parcel during major changes or to swap your Parcel around for events.
You can also view the list of snapshots and revert to a different state from your Parcel's page. (e.g. https://www.cryptovoxels.com/parcels/1)

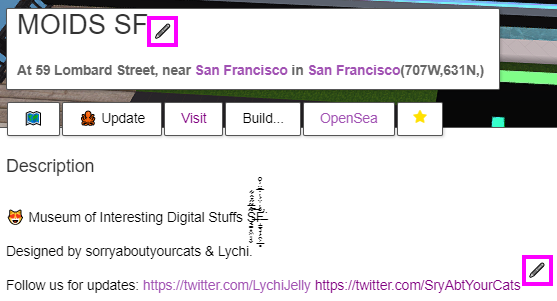
Parcel name/description
On your parcel page (e.g. https://www.cryptovoxels.com/parcels/1) you can change your name and description. Click the the pen icon to the right of your parcel's name or under Description to modify this.